Jennifer Smart, DPT, PRC is one of three speakers for this year’s 12th Annual Interdisciplinary Integration Symposium. This symposium topic came together as a result of the extraordinary work she has been doing with those managing Parkinson’s Disease in her community, and the engaging discussions she has had with Ron over the past couple years. Jen is a clinician at heart, but also one who is current with the research and medical advancements that have been made for those experiencing extrapyramidal symptoms.
Her growing interest in Parkinson’s Disease began around 2015 when her best friend was diagnosed. This was the year she completed the PRC credentialing program, and shortly after neurologist, Dr. Jay Alberts, published research showing how, when a person with PD rides on the back of a tandem that is being pedaled at a cadence of 80-90 RPM, a variety of their PD symptoms decrease. After dissecting the research, Jen bought a tandem bike, and her and her friend rode for over an hour 3 times a week at the specified cadence. Others with PD heard what they were doing, and she ended up getting several tandem bikes and set them up on stationary trainers at a local gym, where she coordinated having members of the local cycling community ride on the front to set the cadence while people with PD rode on the back. “Park’n Ride” was officially started as a non-profit in January 2015.
Based on the success of this cycling program, Jen has become a regional expert on Parkinson’s Disease, where individuals have moved to her small coastal town of Oriental, North Carolina after their diagnosis. She became certified in LSVT BIG, Parkinson’s Wellness and Recovery (PWR!) and Rock Steady Boxing, which are all evidence-based, Parkinson’s-specific programs. Jen has attended the Parkinson’s World Congress and has even volunteered for a week with Becky Farley, PT, PhD who developed LSVT BIG and PWR. In 2017, Jen received a grant from the National Parkinson’s Foundation to organize and run a two-day event, called the Parkinson’s Exercise Program (PEP) Retreat, which was designed to help both patients and medical providers better understand how to use exercise as an evidence-based treatment for PD.
In her own words, “What I have taken away from all of this training, from working extensively with this population, and from the currently exploding literature regarding the benefits of specific exercise programs for PD, is that, perhaps unknowingly, the components that make each of these treatment techniques so effective, are the components that are based on the science of PRI. People with PD, just like all of us, need to be able to rhythmically alternate, but their disease, or somewhere along their journey towards developing this disease, this ability to rhythmically alternate was compromised so they needed to develop involuntary tics, muscle spasms, tremors, restless legs, dystonia and/or postural changes to help them to get to the other side, to help them to alternate. This is now the message that I am trying to get across in both the prevention and treatment of Parkinson’s, and so many other, syndromes or diseases.”
Learn more about Jen’s upcoming presentations at our 12th Annual Interdisciplinary Integration below.
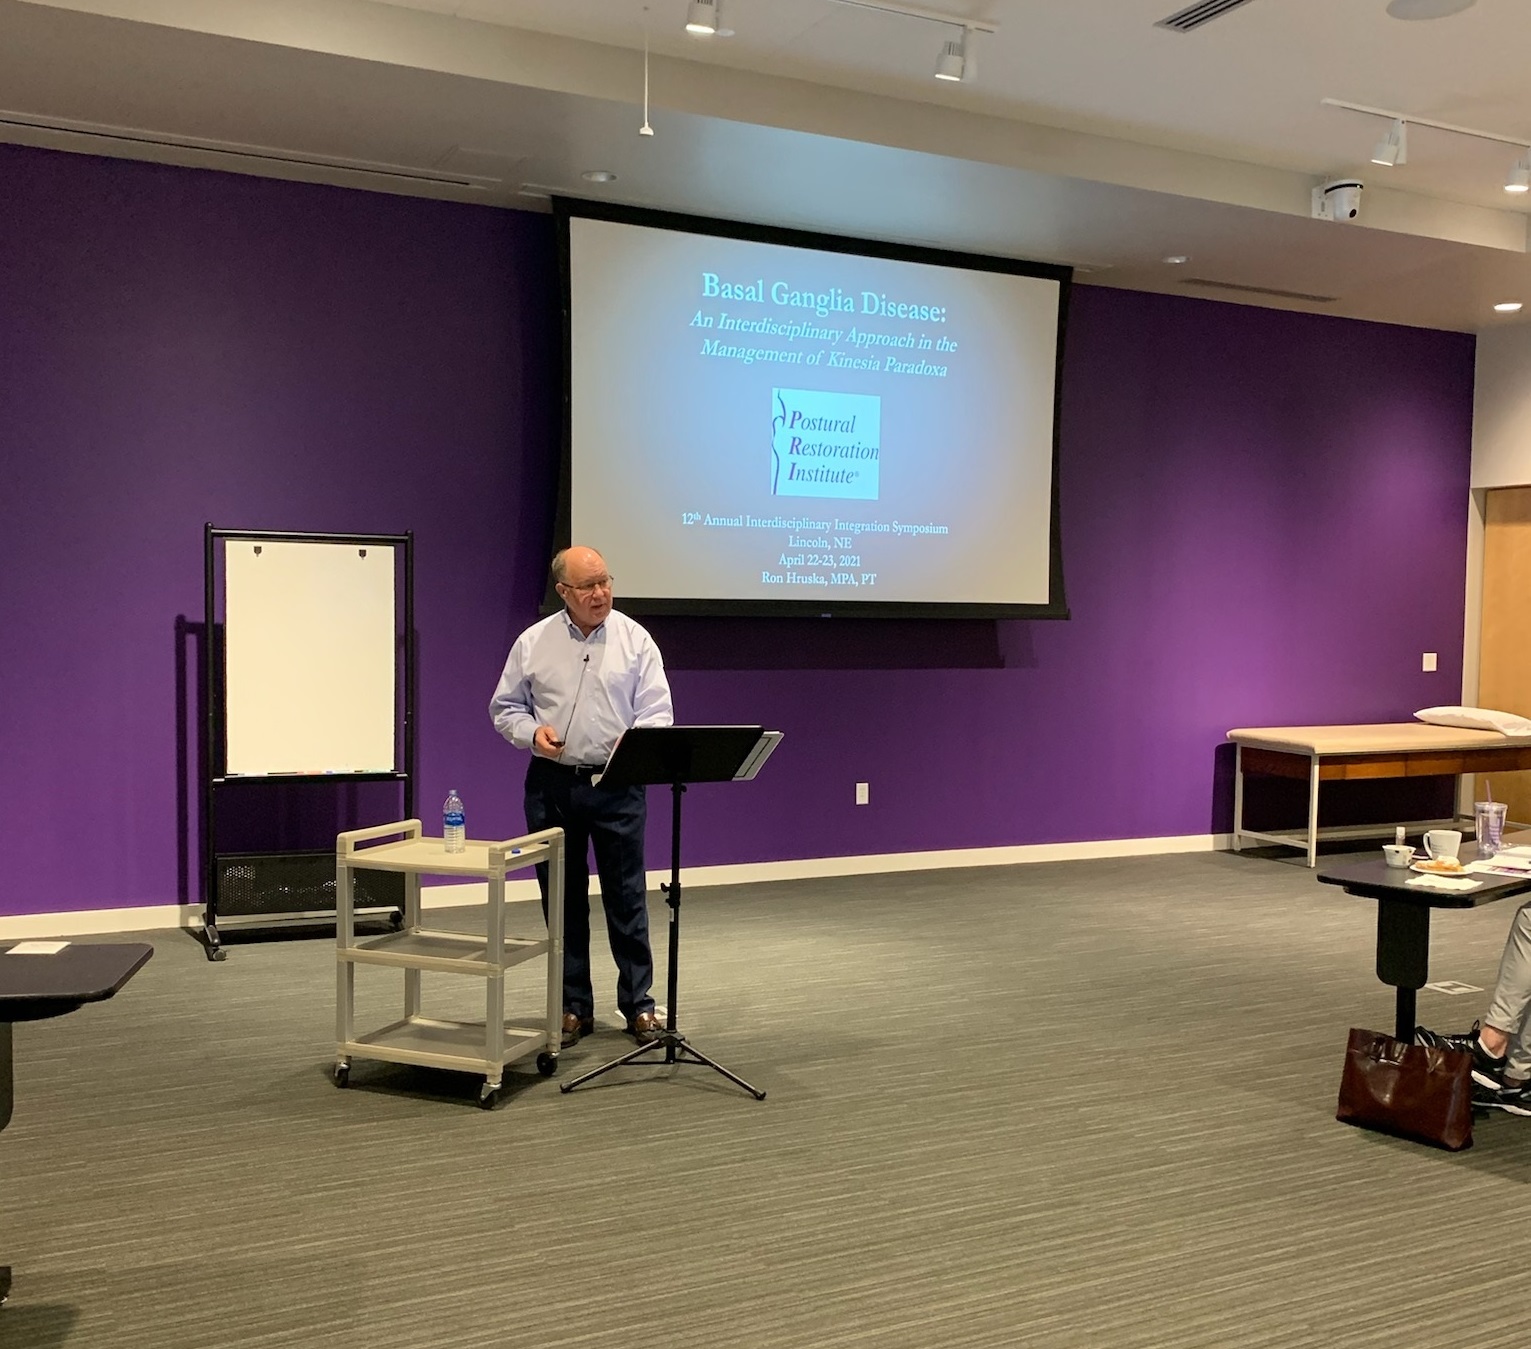
Practical Implication of Intervention and Management of Patients Who Have Been Diagnosed with Basal Ganglia Disease
-Jennifer Smart, DPT, PRC
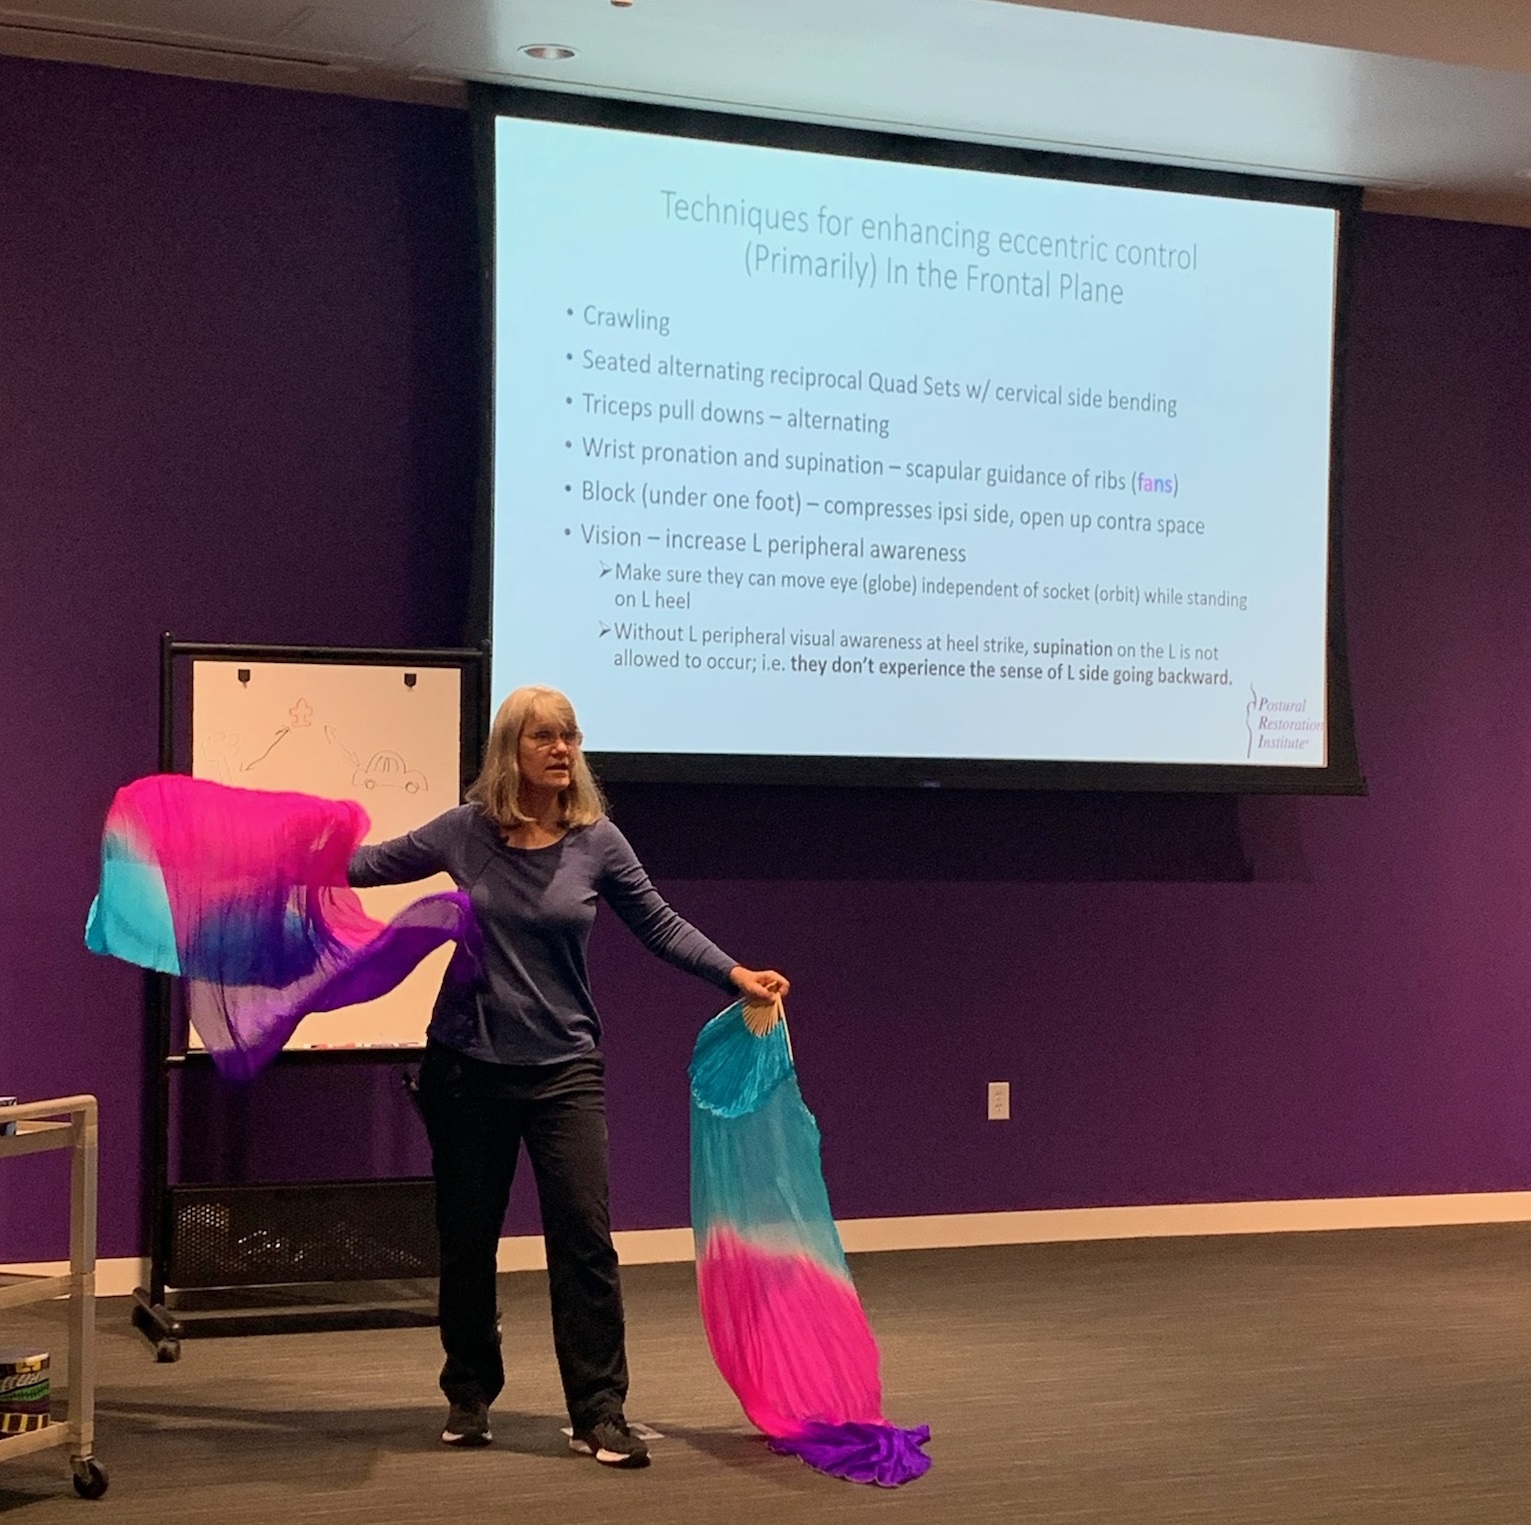
The first half of this presentation will review a variety of diseases involving basal ganglia dysfunction, examining both their common and uniquely different motor and non-motor manifestations, while exploring not only the current and experimental pharmacological, surgical and physical treatment techniques that are being employed to treat them, but also the underlying reasoning behind each of these interventions. The second half of the presentation will focus more on a variety of evidence-based physical treatment programs, compiling the common effective visual, auditory, postural and respiratory components from each physical activity program. Emphasis will be placed on assessing how each technique addresses the temporal, lateralization and pressure regulatory deficits seen in people who have been diagnosed with Basal Ganglia Diseases (in order to unlock, through oscillatory function, the axial skeletal system from the appendicular skeletal system in an attempt to better balance the autonomic nervous system with the central nervous system).
A Clinical Perspective on Geocentricism, Lateralized Linkages, Sleep, Timing and Weight Shifting
-Jennifer Smart, DPT, PRC
The research states that the Basal Ganglia is involved in the perception of time, but what does that clinically mean? It means that a person with a Basal Ganglia disease, such as Parkinson’s, does not know how to navigate through space since such movement is inextricably linked to time, not only for understanding when to move but also at what speed (since speed is distance per unit of time) but also for knowing where they are (“five minutes from home”) and how to integrate all their moving parts. For example, knowing when to supinate and for how long to experience appropriate weight shifting in order to avoid over lateralization relies on timing. This presentation is going to discuss clinical ways to address the various issues involved with timing deficits, through visual, auditory, positional, and respiratory cuing, in people with Basal Ganglia deficits.
Clinical Case Study Presentations
-Jennifer Smart, DPT, PRC
This presentation will be a discussion of the treatment and management of several patients who have been diagnosed with Basal Ganglia Disease, either Parkinson’s Disease or Progressive Supranuclear Palsy (PSP). A few of the cases were ones in which Jennifer Smart had the opportunity to collaborate with Ron Hruska. Management discussion will include group exercise application, in addition to individual rehabilitation considerations.
<div id=’buzzsprout-small-player-259875-artist-Jennifer-20Smart–20PT–20DPT–20PRC-20joined-20by-20Ron-20Hruska-tags-‘></div><script type=’text/javascript’ charset=’utf-8′ src=’https://www.buzzsprout.com/259875.js?player=small&artist=Jennifer%20Smart,%20PT,%20DPT,%20PRC%20joined%20by%20Ron%20Hruska&tags=&container_id=buzzsprout-small-player-259875-artist-Jennifer-20Smart–20PT–20DPT–20PRC-20joined-20by-20Ron-20Hruska-tags-‘></script>